Android TV
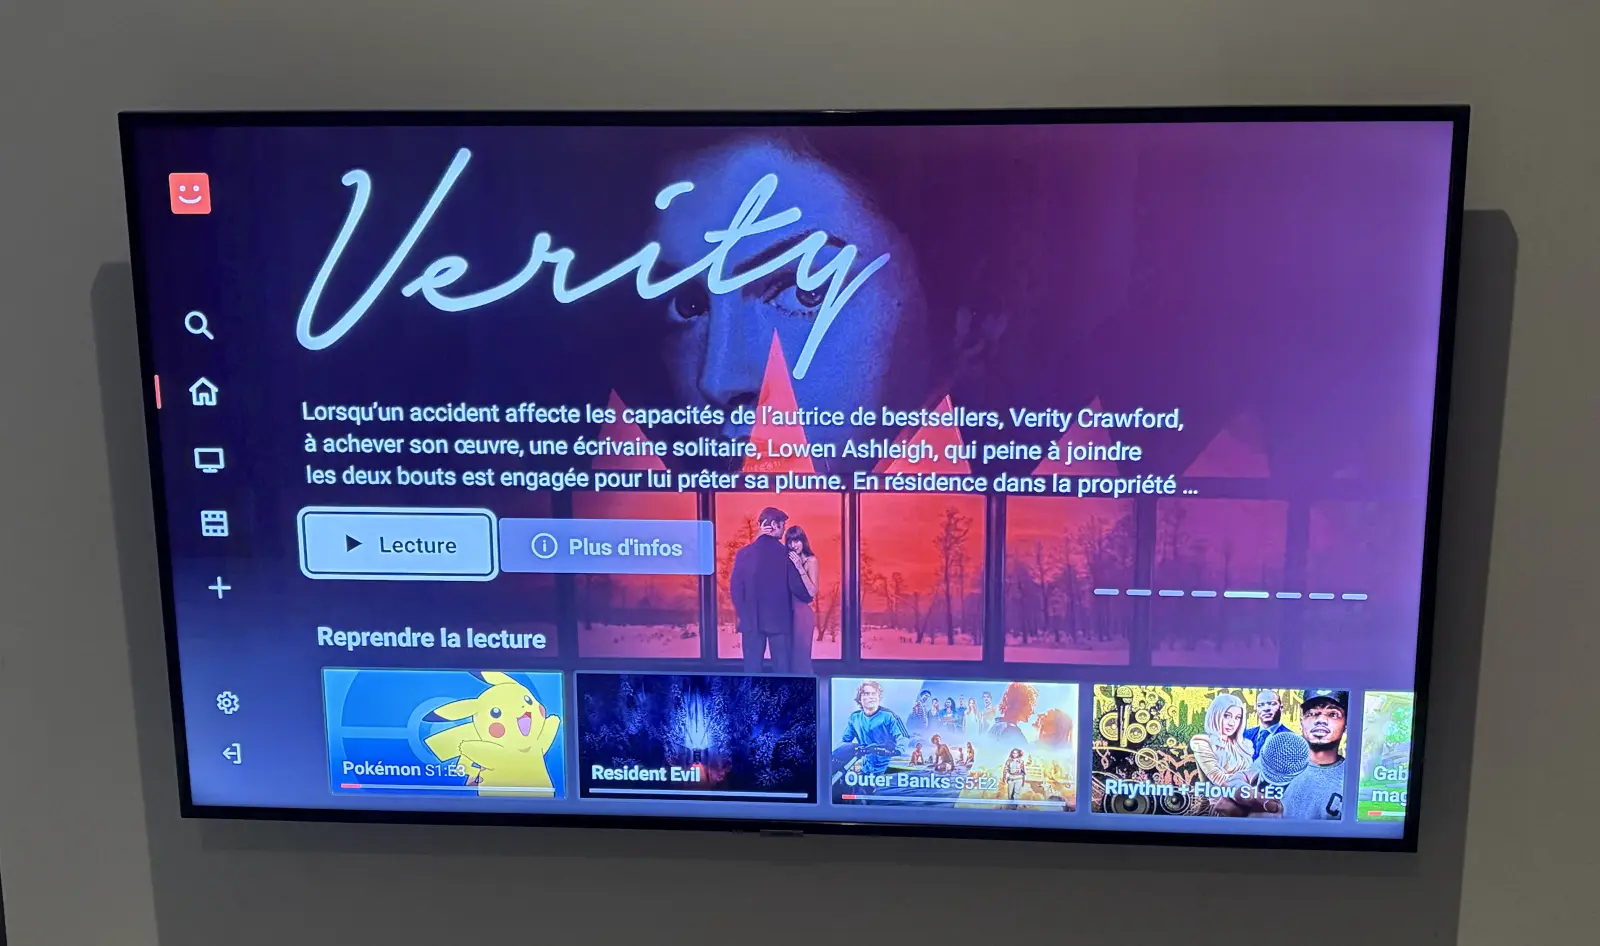
kinora has a native Android TV app (Google TV and Amazon Fire TV included), built from the same code as the web app. It is designed for the remote: everything is reachable with the arrows, OK and Back.
Install the app
The APK is always available at kinora.stream/apk, a short link to kinora-android-tv.apk in the
latest GitHub release. You can also
build it yourself.
The easiest way is to download it from the TV with the Downloader app (by AFTVnews), which has its own browser and installs what it downloads. The TV's own browser can't install APKs.
Android TV and Google TV
- Install Downloader from the Google Play Store.
- Allow it to install apps: Settings > Apps > Security & restrictions > Unknown sources, enable Downloader (the path varies a little between brands).
- Open Downloader, type
kinora.stream/apkand press Go, then Install.
Amazon Fire TV
Fire TV devices running Fire OS 6 or later are supported. The newest models running Vega OS can't install APKs.
- Install Downloader from the Amazon Appstore.
- Enable the developer options: Settings > My Fire TV > About, press OK seven times on the device name.
- Allow Downloader to install apps: Settings > My Fire TV > Developer options > Install unknown apps, enable Downloader.
- Open Downloader, type
kinora.stream/apkand press Go, then Install.
With adb
From a computer on the same network, with debugging enabled on the TV (Developer options > ADB debugging):
adb connect <tv-ip>
adb install kinora-android-tv.apk
First launch
Enter your server address, as seen from the TV: http://192.168.1.10:8080. It is saved on the device and can be
changed from the sign-in screen. Plain HTTP is allowed, so a server on your local network works without TLS.
To install updates from the app (see Updates), allow kinora to install unknown apps too, the same way as Downloader. The TV asks the first time.
Sign in
Typing a password with a remote is painful, so the TV shows a short code instead. On a computer or phone already
signed in to kinora, open http://<your-server>:8080/link and enter the code. The TV signs in to that account.
Updates
Once signed in, the app asks the server for the latest version (GET /api/v1/update) and, if it is newer, offers to
install it, with the release notes, Later and Skip this version. Where the server looks depends on APP_ENV:
production(default): the latest GitHub release, cached for a day. An admin can force a check from the Account page (Check for updates).development: the APK built locally withnpm run tv:apk, served through a link signed for one hour. Run the server from the root of the repository (make run).
Build the APK
Locally
You need the Android SDK and JDK 17 (see Test on an emulator for the setup on a Mac).
cd ui
npm ci
npm run tv:apk
The APK is written to ui/android/app/build/outputs/apk/release/app-release.apk. Without a release key, it is signed
with the debug key.
In the cloud, without the SDK
cd ui
npx eas-cli@latest build -p android --profile tv
This needs a free Expo account (eas init the first time). The APK link is printed at the end.
Release builds
These variables are read when building the APK:
| Variable | Description |
|---|---|
APP_VERSION | APK version (1.2.3, a v1.2.3 tag works too). The versionCode is derived from it, so each release must increase it. |
KINORA_KEYSTORE | Path to the release keystore. |
KINORA_KEYSTORE_PASSWORD | Keystore password. |
KINORA_KEY_ALIAS | Key alias. |
Android only installs an update signed with the same key as the installed app: keep the keystore safe, outside the repository. Create one with:
keytool -genkeypair -keystore release.keystore -alias kinora -keyalg RSA -keysize 4096 -validity 10000
Then build with the variables from .env:
cd ui && set -a && . ../.env && set +a
APP_VERSION=1.0.1 npm run tv:apk
On each release, the Release workflow builds the APK and attaches it to the GitHub release. It signs it with the
repository secrets KINORA_KEYSTORE_BASE64 (base64 -i release.keystore), KINORA_KEYSTORE_PASSWORD and
KINORA_KEY_ALIAS, or with the debug key when they are missing.
Test on an emulator
On a Mac:
-
Install Android Studio. In SDK Manager (Show Package Details), install an Android TV or Google TV system image, ARM 64 v8a (API 31 or later) on Apple Silicon.
-
Device Manager > Create device, category TV, Television (1080p), with that image. In Advanced Settings, 4 GB of internal storage is enough. Start it before step 4.
-
Install JDK 17, the one React Native recommends (
brew install openjdk@17). With Java 24 and later, including the JDK bundled with Android Studio, the CMake configuration of the Android plugin fails on a JVM warning. Then point the terminal to the SDK and that JDK:export ANDROID_HOME=~/Library/Android/sdkexport JAVA_HOME=/opt/homebrew/opt/openjdk@17/libexec/openjdk.jdk/Contents/Homeexport PATH=$ANDROID_HOME/platform-tools:$PATH -
cd ui && npm run tv:android: TV prebuild, build and install on the emulator, with hot reload. -
In the app, the server address seen from the emulator is
http://10.0.2.2:8080(the Mac'slocalhost).
Drive the emulator's remote with the keyboard arrows, Enter to select and Escape to go back.